I was inspired by this post by Nichole from Parlour My Home. I can spend hours on her blog just drooling over her amazing designs and great ideas.
This update was so easy, and inexpensive. So here is the before and a quick tutorial.


I admit it wasn't awful beofre, but it was boring. And it has some battle scars from moving and a very mischeivous 2yr old.
My wonderful hasband filled in all the grooves with wood putty.

The hardest part was placing the material, and getting it centered. Once I found the best center I could, I cut my fabric and got ready to clue. My husband also took the table top off the base. It was much easier to work with that way.
I rolled Mod-Podge glue like it was paint and section by section glued down the fabric. With each section I would smooth down the fabic with my hand to get out any wrinkles or bubbles.

Once the top, sides and bottom had all been glued down, I just waited to let the glue dry completely. I probably gave it a day.
My last step was poly-crylic. I rolled on 5-6 coats of poly. It has hardened completely and is stain resistant....possible stain proof. I have already wiped up spots off of it that I was worried wouldn't come off, but they all have.
Here is my final result.....


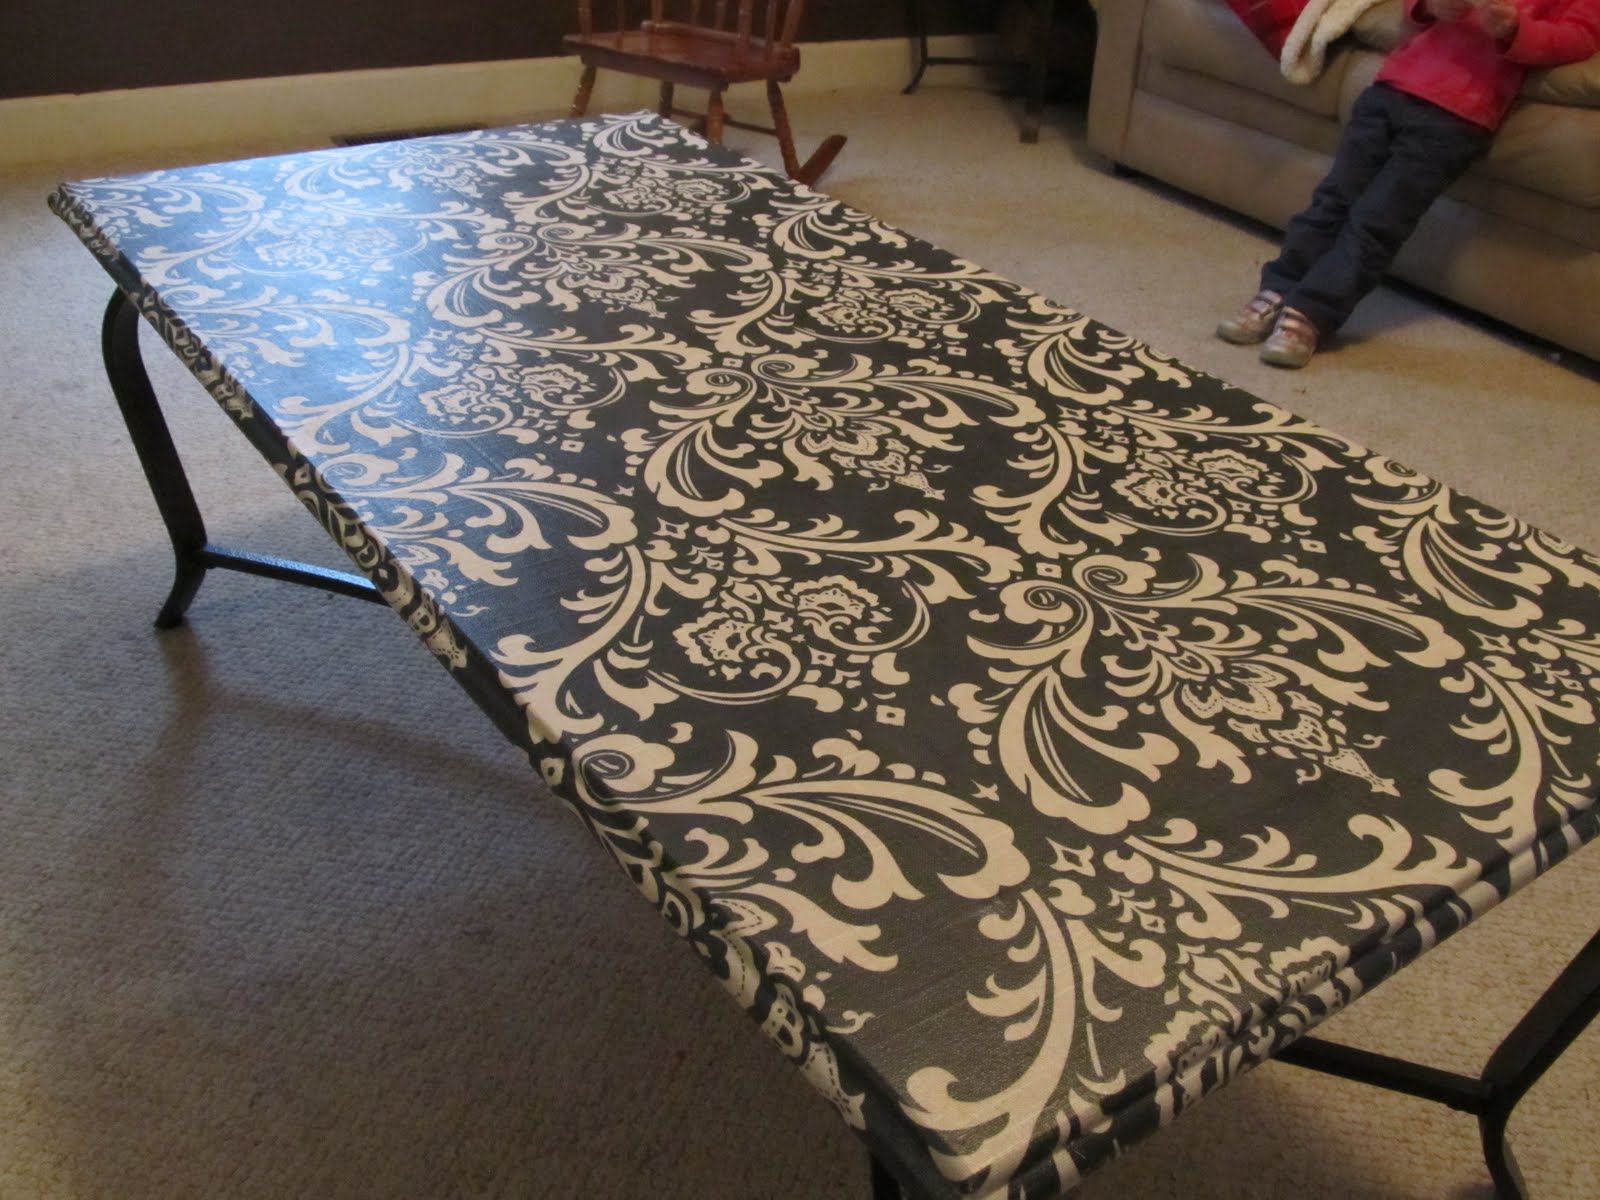


I love it! I am even considering using it as an outdoor table when we finish our house. The best part is possibly the cost of the update. Material from fabric.com was $17
Mod Podge glue $6
Poly Crylic $23
Total....$46
Thanks for stopping by
Jessica
Linking up to these parties:
Today's Creative Blog
Home Stories A to Z
Funky Polka Dot Giraffe
Not Just A Housewife
A Diamond in the Stuff
Sugar Bee Crafts
Thrifty Decorating
Thrifty 101
Gluesticks
Fireflies and Jellybeans
Fabulously Flawed
Beyond the Picket Fence
Delightful Order